


April 15, 2024
How We Built Our Own CLI for Better Application Bootstrapping

In this blog post, we're revealing a transformative creation story here at Atolye15. Faced with the complex challenges of starting projects, our team took on the mission to not just overcome these obstacles but to transform them. What resulted was our very own CLI tool. Prepare to discover how this app has revolutionized our workflow and how it might do the same for you!
Whether we’re working on an API or a Web application, the initial setup required can be quite complex and time-consuming. There are numerous settings to consider and prepare for the development of the application. This includes configuring server settings, creating build and testing scripts, and preparing setup files for using technologies like I18n, GraphQL, and gRPC in the application, as well as organizing the folder structure. It’s important to maintain these settings as uniform yet adaptable as possible, particularly for those of us who pay close attention to detail like we do at Atolye15.

This whole process of getting the application ready, known as 'application bootstrapping,' is universally recognized as long and quite overwhelming. Thankfully, there are many open-source tools developed to ease this process. These tools, which are command-line interfaces (CLIs), assist in autonomously completing the tasks at hand. They create the project’s bootstrap, preparing structures like entities and classes needed for developing and expanding the project.
Many of us have at least once used applications like create-react-app, create-next-app, create-t3-app, or the Nest CLI. These applications typically prompt us with questions like 'what kind of application do you want to create?', 'what features do you want included?', 'what kind class should I generate for you?', 'what will the project name be?', and 'where should it be installed?'. By posing such questions, they take care of the bootstrapping process for us in an interactive manner within seconds.
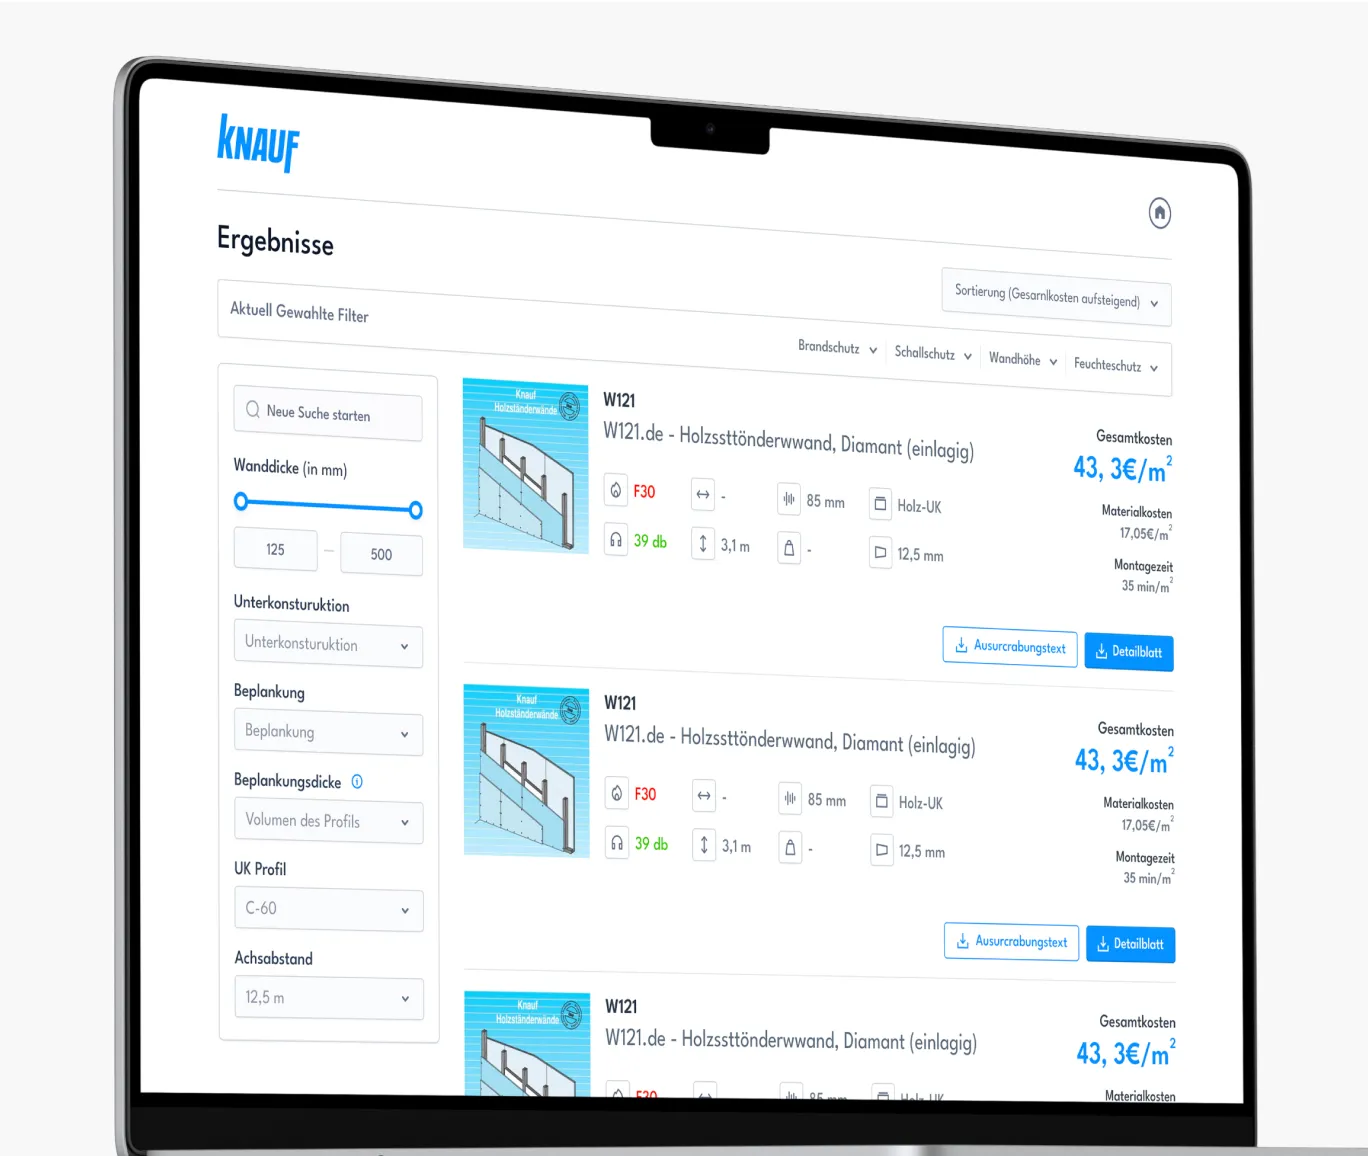
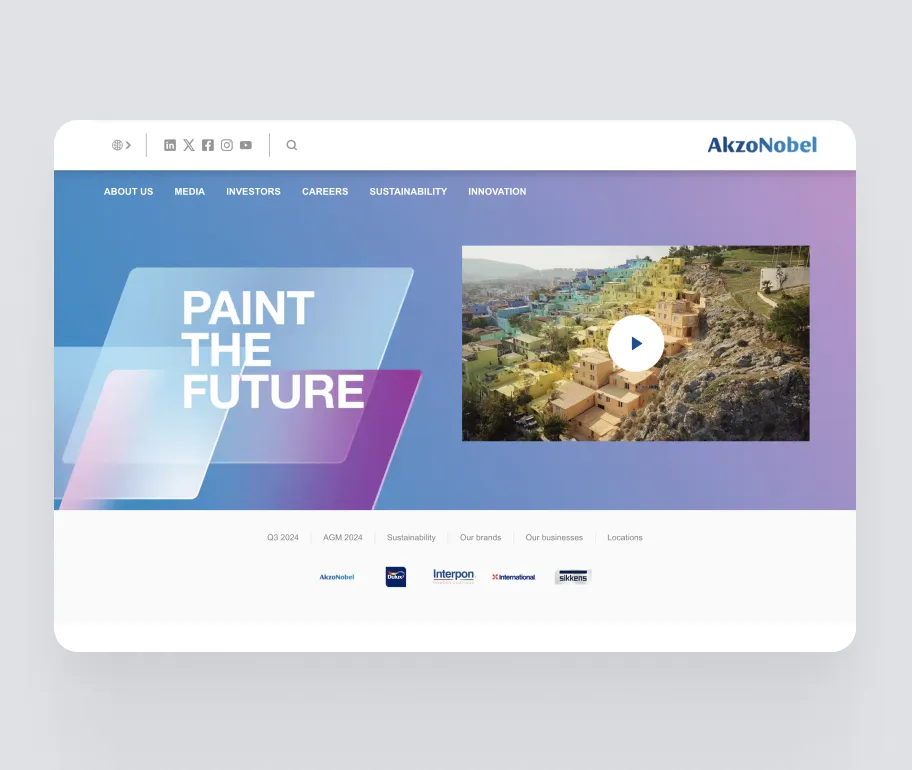
About five years ago, Baumappe, a project we developed for Heinrich Schmid, was also 'bootstrapped' using these tools. Over the years, Baumappe was segmented into smaller parts to enable growth. We referred to these parts as microservices and microfrontends. To manage the shared code logic among these components, we utilized GitHub Packages to publish our npm packages. Today, Baumappe consists of at least 40 microservices, 7 microfrontends, and 30 npm packages.
Bootstrapping all these structures and building features on top of them is surely a task that demands significant effort and time. For example, some microservices use GraphQL, some use gRPC only for reading data from other APIs, while others act as servers, some use feature toggling via LaunchDarkly, and so on. When starting a new microservice, preparing all these settings and making sure they are consistent with the rest of the project is a time-consuming process. So, this phase is prone to challenges, including encountering errors or dealing with incomplete configurations.
.webp)
In response to these challenges, our Frontend team has taken proactive steps to streamline development. To speed up the process of creating new packages, we introduced package-scripts that standardize linting, building, and testing across npm packages. We've also implemented storybook-scripts to simplify the integration and management of Storybook for our packages and microfrontends.
During this whole process, we created a folder named "package-template" for consistent folder structure across packages and quick start. Developers aiming to launch a new package could simply copy the 'package-template' folder, tweak it as needed, and jump straight into their work. However, even with these enhancements, we found ourselves not moving as quickly as we had hoped. It became clear that we required a CLI that could encompass the entirety of Baumappe, offering the speed of development we desired without compromising on the flexibility we needed.
At the moment, Baumappe is about to enter a redesign phase. This involves rewriting and reorganizing certain parts, as well as adding new microservices and microfrontends. To keep pace with Baumappe’s rapid growth, we recognized the need for a tool that could streamline this process.
We decided that Baumappe deserved its own dedicated tool, one that could match the speed and quality of Baumappe's development. This led us to explore the development of our own CLI, considering what features it should include. The whole development team, including both Backend and Frontend teams, contributed their insights, ensuring the tool would meet all our needs. The UI team's workflow and package development processes were also taken into account.

As a result, we designed create-baumappe-app. This tool is intended to fully prepare new applications by automating the creation of folder structures, scripts, DevOps pipelines, dependencies, and setup files, all customizable to the developer's preferences.
To kick off the development, our team took a deep dive into the structure of existing open-source solutions. We found that most solutions offered templates that were essentially ready to use—just a matter of copy-pasting. Templates for various requests were also pre-prepared. However, the potential within the Baumappe ecosystem was nearly limitless. The tech stack we employed allowed for myriad combinations, with some applications leveraging gRPC, others using GraphQL, and some not using these technologies at all. It became clear that ready-made templates wouldn't be enough for Baumappe. While some projects built with create-baumappe-app could use copy-pasted components, other parts required customization based on specific choices.
With determination, the team set to work on conceptualizing the Baumappe CLI. This tool was envisioned to quickly prepare upcoming microfrontends, microservices, or packages for use in seconds. It would help us get rid of issues like missing configurations that we had encountered previously.
To streamline the development process, we structured the application into four sub-applications:
- Microservice
- Microfrontend
- Backend Package
- Frontend Package
The choice of which sub-application would start depended on the user's selections. The application essentially works as follows:

Even though the application is split into four parts based on initial user choices, we set up foundational structures for common tasks. These include locating templates, executing copy-paste actions, and answer collection from users. The process unfolds like this:

As we've mentioned before, during the file setup, some files can be directly copied and pasted, while others require specific generation. To address this, our team introduced template rendering. By using tools like Twig or mustache.js, we can dynamically prepare files by first converting them into templates. These templates are processed and then saved in the designated location, complete with the appropriate file extension.
For example, the Dockerfile file is prepared according to user requests, and it includes a dynamic area related to the project's name and the folder it is located in.
1COPY --chown=node:node api/{{projectName}}/yarn.lock api/{{projectName}}/.npmrc api/{{projectName}}/package.json ./In some places, conditional controls were necessary. For example, the following line would only appear if the GraphQL server was enabled:
1{% if enableGraphQLServer %}
2COPY --chown=node:node api/{{projectName}}/schema.graphql ./schema.graphql
3{% endif %}
If we take a closer look at the "generate and locate files and pipelines" section in the diagram, we can see that the process is executed as follows:

After completing this process, the developer is ready to start using the application. In Baumappe, we use a monorepo structure, so the placement of each microservice or microfrontend is predetermined. The files that are generated get copied to their respective places, and we manage this by accessing Baumappe's Git root.
When the creation and copying of files are done, we move on to the Post Answer Collection. At this point, we ask the developer a few simple questions about running basic scripts, like "Should we run 'yarn install' for you?" and "Should we run 'yarn graphql:codegen' for you?"
After all this work, our CLI application is nearly complete, and we're confident it will speed up the project's future work. After roughly two weeks of development, we've rolled it out to the team and published it on npm. By adding this tool to the NPM Registry, now anyone can kickstart their project by running the npx create-baumappe-app command in their terminal. It springs to life just like the initial applications mentioned before. We're looking forward to the exciting developments this will bring!
Working on this application has been a rich learning experience for us. Plus, we decided to add a touch of personality by incorporating ASCII art into the login screen, making our application not just functional but visually engaging too.

Since this was our first time developing an application of this kind, we ran into a few unexpected surprises and challenges along the way. But we overcame these obstacles together as a team by constantly learning and evolving our approach. Huge props to every team member for their contributions! Oh, and if you're interested in seeing the application in action, feel free to click here for a demo!